
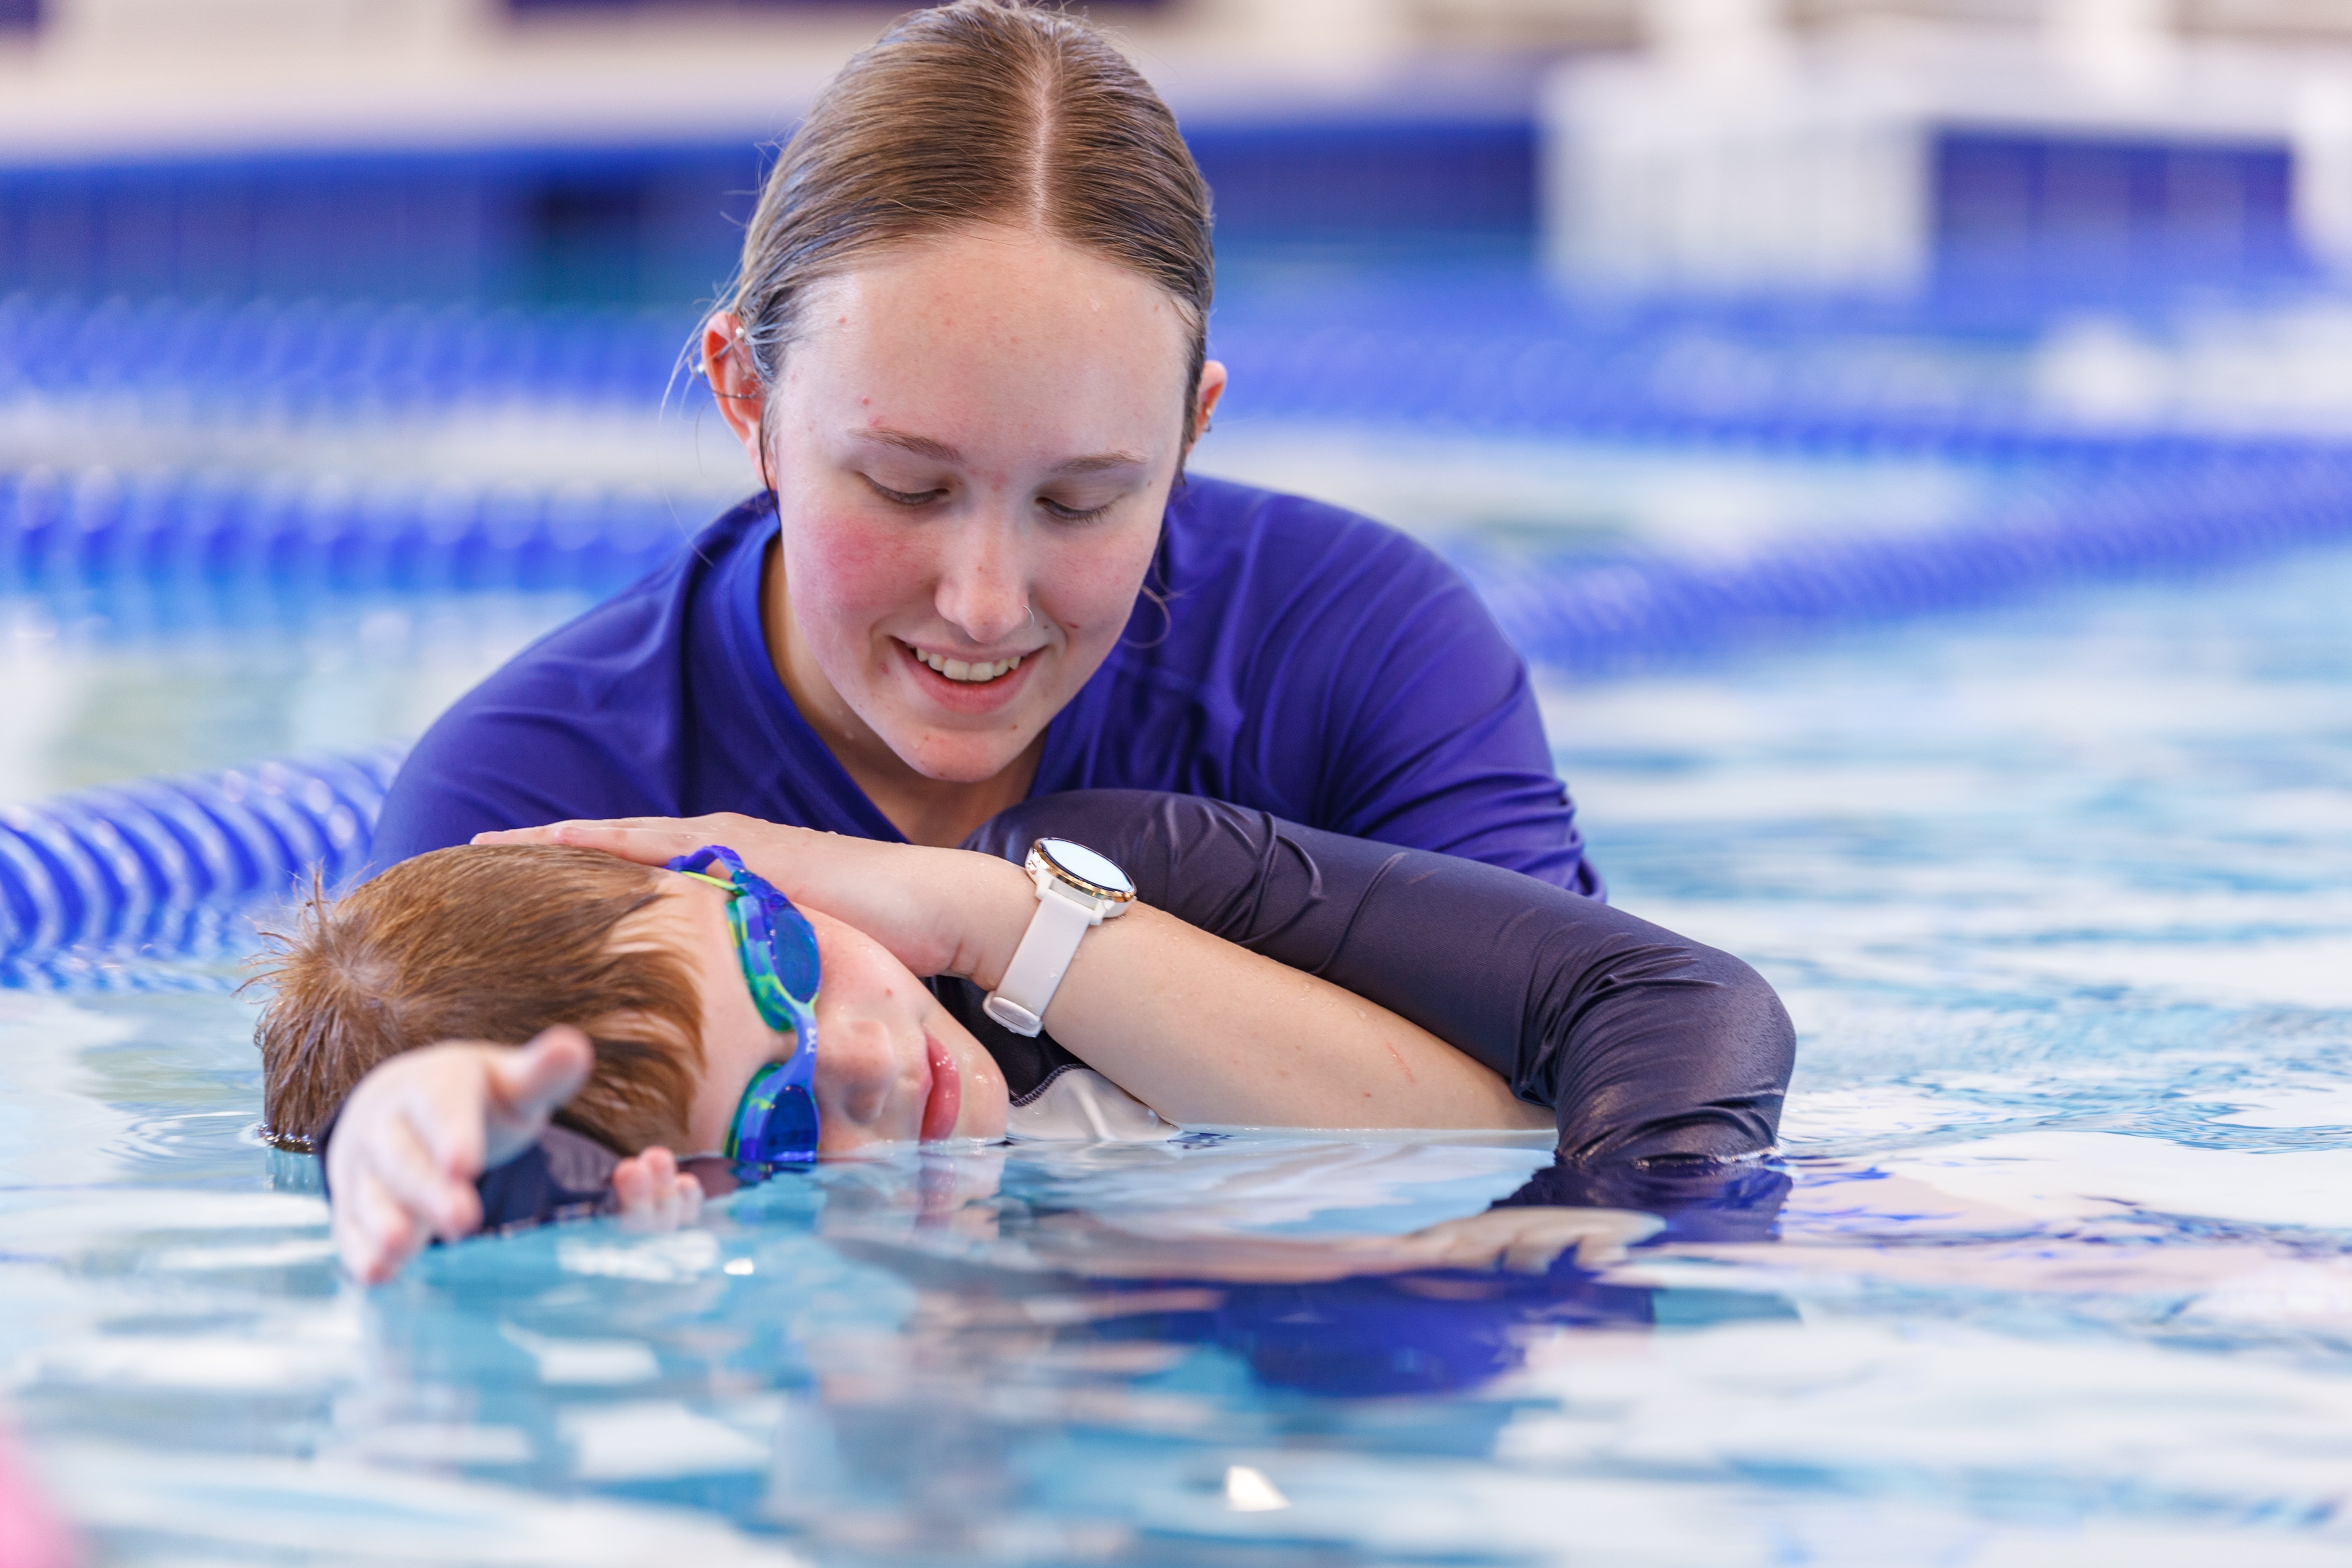
DOES YOUR CHILD KNOW THESE 12 WATER SAFETY RULES?
Water play, pool parties, and beach days are some of the many joys of summer. We all crave a refreshing dip when the weather is humid and warm, but...
7 min read

Though there are many organizations that review the steps of CPR and ECC (Emergency Cardiovascular Care), the basic steps are consistent. Training is always recommended, but it’s noteworthy that “The American Heart Association recommends that everyone — untrained bystanders and medical personnel alike — begin CPR with chest compressions. It's far better to do something than to do nothing at all if you're fearful that your knowledge or abilities aren't 100 percent complete. Remember, the difference between your doing something and doing nothing could be someone's life.” - MayoClinic.org
Here is advice on how to perform CPR from the American Heart Association (as listed on the Mayo Clinic site):
The above advice applies to adults, children and infants needing CPR, but not newborns (infants up to 4 weeks old).
CPR can keep oxygenated blood flowing to the brain and other vital organs until more definitive medical treatment can restore a normal heart rhythm.
When the heart stops, the lack of oxygenated blood can cause brain damage in only a few minutes. A person may die within eight to 10 minutes.
To learn CPR properly, take an accredited first-aid training course, including CPR and how to use an automated external defibrillator (AED). If you are untrained and have immediate access to a phone, call 911 or your local emergency number before beginning CPR. The dispatcher can instruct you in the proper procedures until help arrives.
Before starting CPR, check:
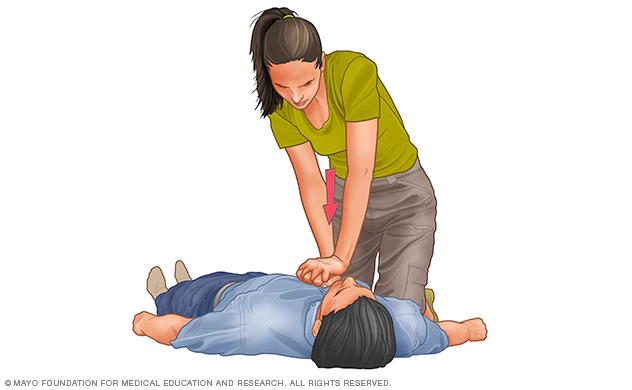
Chest Compressions
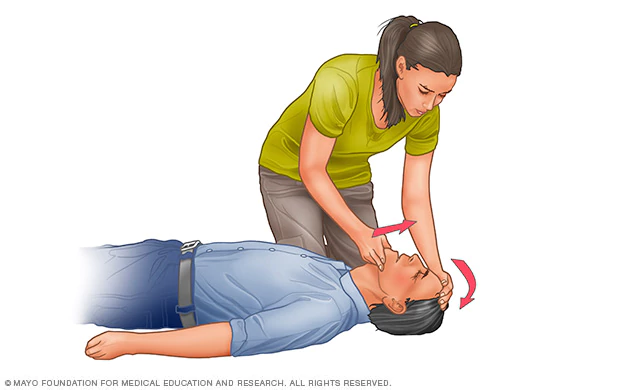
Open the Airway
Rescue Breathing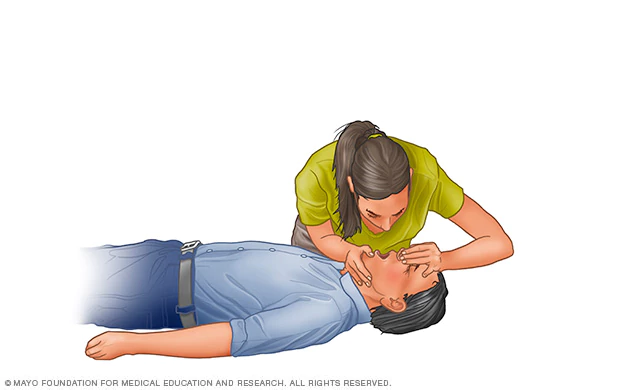
The American Heart Association uses the letters C-A-B — compressions, airway, breathing — to help people remember the order to perform the steps of CPR.
Compressions: Restore blood circulation
Rescue breathing can be mouth-to-mouth breathing or mouth-to-nose breathing if the mouth is seriously injured or can't be opened.
The procedure for giving CPR to a child age 1 through puberty is essentially the same as that for an adult. The American Heart Association also recommends the following to perform CPR on a child:
Compressions: Restore blood circulation
If you are alone and didn't see the child collapse, perform five cycles of compressions and breaths on the child — this should take about two minutes — before calling 911 or your local emergency number and getting the AED, if one is available.
If you're alone and you did see the child collapse, call 911 or your local emergency number and get the AED, if one is available, before beginning CPR. If another person is available, have that person call for help and get the AED while you begin CPR.
Use the same compression-breath rate that is used for adults: 30 compressions followed by two breaths. This is one cycle.
Continue until the child moves or help arrives.
Most cardiac arrests in babies occur from lack of oxygen, such as from drowning or choking. If you know the baby has an airway obstruction, perform first aid for choking. If you don't know why the baby isn't breathing, perform CPR.
To begin, examine the situation. Stroke the baby and watch for a response, such as movement, but don't shake the baby.
If there's no response, follow the C-A-B procedures below for a baby under age 1 (except newborns, which includes babies up to 4 weeks old) and time the call for help as follows:
There are many ways to become CPR – certified, including online, in a classroom, or through a blended approach (both online and in class). Each approach has pros and cons, and you can decide which works best for you. Classes may cover CPR, CPR with AED, or one of these in combination with First Aid.
The American Red Cross and the American Heart Association are nationally known organizations that deal with health and safety, and it’s best to train through them. Though many other companies and websites offer classes, some are fraudulent, and it’s best to avoid them.
Class fees vary by organization, subject(s) covered, and delivery method (online or in – person). Materials may also be required for a fee. If you participate in training for your job, your company may cover the cost of your training.
A basic CPR course lasts about three hours, and there is a test at the end that students must pass to become accredited. Accreditation is good for two years, and recertification courses are also available. Remember that almost everyone is eligible to take a CPR class. If you are able to pay the course fee and able to perform the duties necessary, you can become certified to save lives.
Sources:
American Heart Association website (https://cpr.heart.org)
CPR Certified https://www.cprcertified.com/blog/the-history-of-cpr
Mayo Clinic https://www.mayoclinic.org/first-aid/first-aid-cpr/basics/art-20056600
ProTrainings https://www.protrainings.com/blog/the-history-of-cpr-273-years-in-development
Wikipedia https://en.wikipedia.org/wiki/History_of_cardiopulmonary_resuscitation

Water play, pool parties, and beach days are some of the many joys of summer. We all crave a refreshing dip when the weather is humid and warm, but...
Ashley Bossell continues advice for new-parents following her articleInfant/Toddler: Taking Care of Baby’s Teeth
Don't pack up your child's swimming gear just yet. Having fun in the water isn't just a summertime activity. There are tons of benefits to swimming...

Visit our Water Safety Blog for expert advice, family tips, and more!